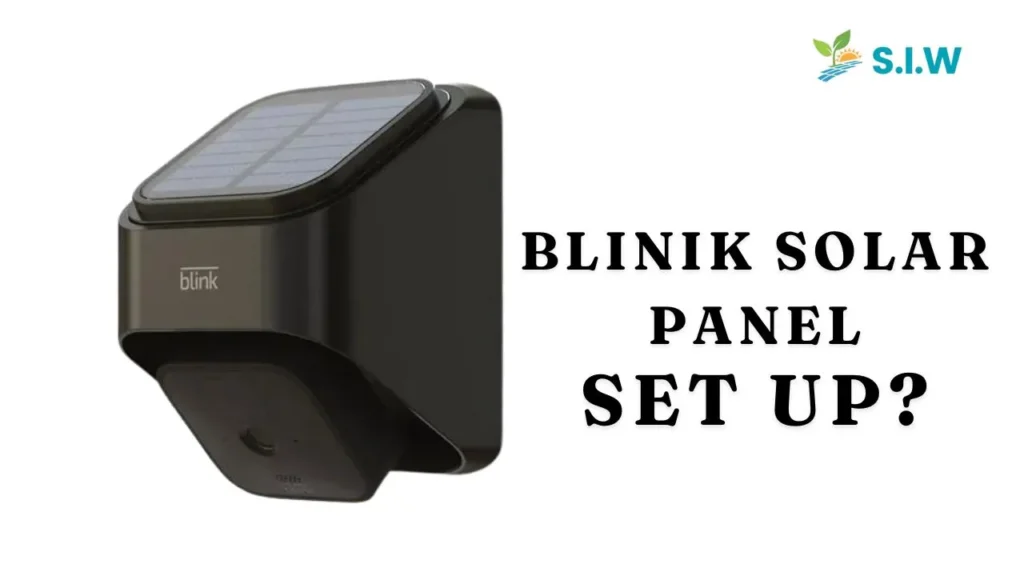
The Blink Solar Panel offers a seamless, eco-friendly solution to power your Blink outdoor cameras. To optimize its efficiency, it is crucial to set up the Blink Solar Panel Mount correctly. Follow this detailed step-by-step guide to ensure your Blink camera stays powered while harnessing the energy of the sun.
Understanding the Blink Solar Panel System
The Blink Solar Panel is specifically designed to keep Blink Outdoor cameras charged, eliminating the need for frequent battery changes. This system consists of a solar panel, a weather-resistant cable, and a mounting bracket. When set up correctly, the solar panel can capture sunlight, convert it to energy, and keep your camera running in virtually all conditions.
Tools You Will Need
To install the Blink Solar Panel Mount, you will need:
- Blink Solar Panel kit (including solar panel, mount, and cables)
- Screwdriver or power drill
- Mounting screws (included in the kit)
- A ladder (if installing at a height)
- Measuring tape
- Level tool
Step-by-Step Guide to Set Up the Blink Solar Panel Mount
1. Selecting the Best Location for the Solar Panel
Location is key for optimal performance. The solar panel should be positioned in a place that receives ample direct sunlight throughout the day. Here are some tips for choosing the best location:
- South-facing walls: In the Northern Hemisphere, south-facing areas receive the most sunlight.
- Avoid shadows: Keep the panel clear of trees, buildings, or any other objects that could block sunlight.
- Accessibility: Ensure the panel is mounted at a height where it can be easily accessed for cleaning and adjustments.
2. Attaching the Mounting Bracket
Once you have chosen the location, use the following steps to attach the mounting bracket:
- Position the Bracket: Place the bracket on the desired wall or surface. Ensure it is level using a level tool.
- Mark Drill Holes: With a pencil, mark the spots for the screws through the bracket’s mounting holes.
- Drill Pilot Holes: Using a power drill, create pilot holes at the marked spots.
- Secure the Bracket: Attach the bracket using the screws provided in the kit. Ensure the bracket is secure and tightly mounted.
3. Mounting the Solar Panel
After securing the bracket, it’s time to attach the solar panel itself:
- Align the Panel: Slide the solar panel onto the mounting bracket, aligning it with the clips or screws.
- Secure the Solar Panel: Tighten any screws or fasteners that hold the panel in place. Ensure the panel is firmly attached and can withstand wind and weather conditions.
- Angle Adjustment: Adjust the angle of the panel for maximum sunlight exposure. Most solar panels are adjustable, allowing you to tilt the panel based on the sun’s position throughout the year.
4. Connecting the Solar Panel to Your Blink Camera
To ensure a continuous power supply to your Blink Outdoor Camera, follow these steps to connect the solar panel:
- Locate the Power Cable: The solar panel comes with a weather-resistant USB cable.
- Connect the Cable to the Camera: Plug the USB cable into the charging port of your Blink camera.
- Secure the Cable: Use cable clips to secure the wire along the mounting surface of your solar panels mounting system, keeping it neat and protected from the elements.
5. Testing the System
Once everything is connected:
- Check for Charging: Open the Blink app and check your camera’s battery status. It should display as “Charging” or show the connected solar panel icon.
- Monitor Over Time: Over the next few days, monitor your camera’s battery level to ensure the solar panel is providing consistent power. If the battery continues to drain, adjust the panel’s position or clean any debris.
Maintenance Tips for Optimal Solar Panel Performance
To ensure the Blink Solar Panel operates efficiently, it is important to perform regular maintenance:
- Clean the Panel: Dust, bird droppings, and other debris can reduce the panel’s efficiency. Clean it every few months using a soft cloth and mild detergent.
- Monitor Sunlight Exposure: If you notice reduced charging, check if trees or new structures are casting shadows over the panel. Relocate the panel if necessary.
- Inspect the Wiring: Check the cable connections periodically to ensure they are secure and undamaged.
Troubleshooting Common Issues
If your Blink Solar Panel is not performing as expected, here are some common issues and solutions:
- Panel Not Receiving Enough Sunlight: Make sure the panel is not shaded for most of the day. Reposition if necessary.
- Loose Connections: Double-check that the USB cable is securely connected to the camera and that the mounting bracket is tight.
- Obstructions on the Panel Surface: Clean the panel surface regularly to remove dirt and debris that can block sunlight.
Setting up the Blink Solar Panel Mount is a straightforward process that ensures your Blink Outdoor Camera remains charged using renewable solar energy. With the right positioning and regular maintenance, you can enjoy continuous camera operation without the hassle of frequent battery replacements. Follow this guide to install and maintain the system, maximizing both convenience and sustainability.


