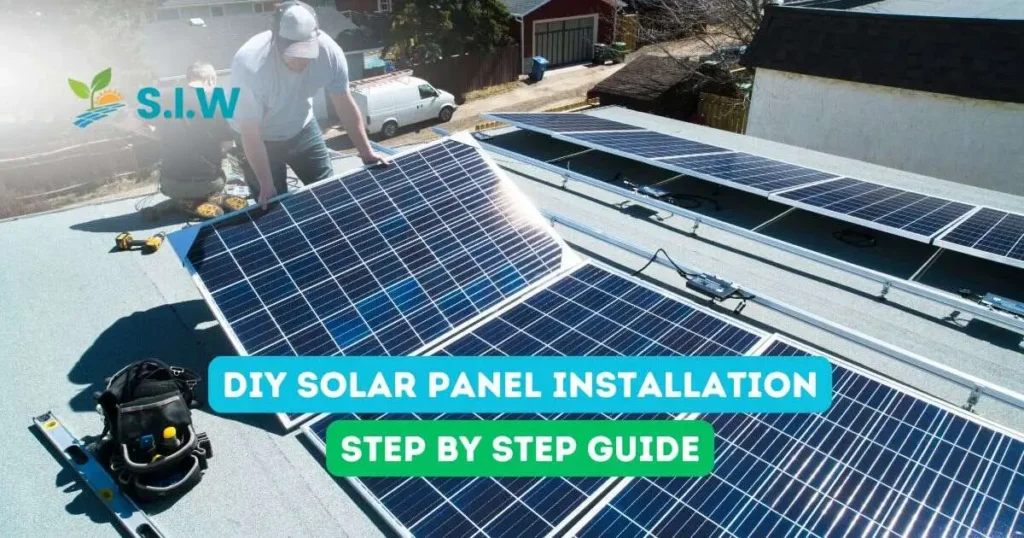
As more homeowners and businesses look to harness the power of the sun for their energy needs, DIY solar panel installation has become an attractive option. Not only does it offer potential cost savings, but it also provides a sense of accomplishment and control over your energy system. However, installing solar panels involves careful planning and execution to ensure safety, efficiency, and compliance with local regulations. This comprehensive guide will walk you through the step-by-step process of DIY solar panel installation, covering everything from initial planning to system maintenance.
Understanding DIY Solar Panel Installation
The Appeal of DIY Solar Installation
DIY solar panel installation can be a rewarding project for those interested in renewable energy and sustainable living. It allows you to take advantage of solar power without the added cost of professional installation. By handling the installation yourself, you can save money on labor and gain a deeper understanding of how your solar system operates.
Key Considerations Before Starting
Before embarking on a DIY solar panel installation, it is crucial to consider several factors. These include your current energy needs, the suitability of your property for solar panels, local regulations and permits, and your own skill level and experience with electrical and construction work. A successful installation requires careful planning, attention to detail, and a commitment to safety.
Planning Your Solar Panel Installation
Assessing Your Energy Needs
The first step in planning a DIY solar panel installation is to assess your energy needs. Review your recent electricity bills to determine your average energy consumption in kilowatt-hours (kWh). This information will help you calculate the size of the solar system required to meet your energy needs and determine how many solar panels you will need to install.
Evaluating Your Property
Next, evaluate your property to determine its suitability for solar panel installation. Consider factors such as roof orientation, shading from trees or buildings, and the structural integrity of your roof. Ideally, solar panels should be installed on a roof with a south-facing slope and minimal shading to maximize energy production. If roof installation is not feasible, ground-mounted solar panels may be an alternative option.
Researching Local Regulations and Permits
Before proceeding with the installation, research local regulations and obtain any necessary permits. Regulations vary by location and may include requirements for system size, installation methods, and electrical codes. Contact your local building department or zoning office to ensure that your installation complies with all applicable regulations and to obtain any required permits.
Designing Your Solar System
Designing your solar system involves selecting the appropriate components and planning the layout. Key components include solar panels, an inverter, mounting equipment, and electrical wiring. The design process should account for the number of panels, their arrangement, and the placement of the inverter and other equipment. Consider using online tools or consulting with a solar expert to help with system design and component selection.
Installing Your Solar Panels
Gathering Tools and Materials
Before starting the installation, gather all the necessary tools and materials. Common tools required for solar panel installation include a drill, wrenches, screwdrivers, a level, and safety equipment such as gloves and goggles. You will also need mounting hardware, solar panels, an inverter, and electrical wiring. Ensure that you have all components on hand before beginning the installation to avoid delays.
Installing the Mounting System
The first step in the physical installation process is to install the mounting system. This involves attaching racks or brackets to your roof or ground structure to support the solar panels. For roof installations, ensure that the mounting hardware is securely fastened to the roof trusses or rafters to provide a stable foundation for the solar panels. Follow the manufacturer’s instructions for proper installation and alignment.
Mounting the Solar Panels
Once the mounting system is in place, you can proceed with mounting the solar panels. Carefully position each panel on the mounting racks and secure them according to the manufacturer’s guidelines. Ensure that the panels are properly aligned and angled to capture the maximum amount of sunlight. Double-check all connections and fastenings to ensure that the panels are securely attached.
Wiring the Solar Panels
After mounting the panels, connect them using the appropriate wiring. This involves linking the panels in series or parallel, depending on your system design, and connecting the wires to the inverter. Ensure that all electrical connections are secure and properly insulated to prevent short circuits or other issues. Follow the wiring diagram provided with your solar panel kit to ensure correct installation.
Installing the Inverter
The inverter is a critical component of your solar system, as it converts the direct current (DC) electricity generated by the solar panels into alternating current (AC) electricity used in your home. Install the inverter according to the manufacturer’s instructions, ensuring that it is mounted in a well-ventilated area and connected to the electrical system. Follow all safety guidelines and electrical codes during installation.
Connecting Your Solar System to the Grid
Finalizing Electrical Connections
Once the solar panels and inverter are installed, finalize the electrical connections. This includes connecting the inverter to your home’s electrical panel and ensuring that all connections comply with local electrical codes. It is important to follow all safety procedures and double-check connections to ensure that the system operates safely and efficiently.
Conducting a System Test
Before fully activating your solar system, conduct a thorough test to ensure that everything is functioning correctly. Verify that the inverter is operating and that the system is generating electricity. Check for any issues with the wiring, connections, or panel alignment. Monitor the system’s performance and address any problems that may arise during testing.
Completing the Permit and Inspection Process
After completing the installation and system test, schedule an inspection with your local building department or utility company. The inspection will ensure that your solar system complies with all regulations and safety standards. Obtain any necessary approvals or certifications before officially connecting your system to the electrical grid.
Maintaining Your Solar Panel System
Regular Maintenance Tasks
To ensure the long-term performance and efficiency of your solar panel system, perform regular maintenance tasks. This includes cleaning the solar panels to remove dirt, debris, or snow that may block sunlight. Inspect the mounting system and wiring for any signs of wear or damage. Regular maintenance helps to keep your system operating at peak performance and can prevent potential issues.
Monitoring System Performance
Many solar systems come with monitoring equipment that allows you to track the performance of your system in real-time. Use this equipment to monitor energy production, identify any performance.


