Building your own solar-powered barn has become a reasonable and sustainable choice for homesteaders, ranchers, and farmers as the globe moves toward renewable energy sources. In addition to offering notable energy savings, a solar-powered barn lowers your carbon footprint, thereby helping to preserve the environment. We will go over the processes to create a solar-powered barn, necessary tools, and best practices to guarantee your barn runs well on solar power in this extensive tutorial.
1. Designing Your Solar-Powered Barn
Choosing the Correct Location
Selecting a suitable site for your solar panels is the first and most important stage in designing a solar-powered barn. Your barn ought to be located where it can get the most daily sunlight. Think about the orientation of your roof or the accessible ground area for ground-mounted solar panels. Though east and west-facing arrays can function too if needed, the panels should ideally face south to maximize the sunshine.
Determine the degree of shade your barn will be subjected to. Energy output can be affected by any adjacent buildings, trees, or shadows cast on the panels. To guarantee optimal sun exposure, you might need to cut branches or clear obstacles.
Determining Energy Needs
Designing your solar system depends on knowing how much electricity your barn uses. List all the electrical equipment in your barn first—lighting, ventilation systems, water pumps, and other machinery. To project your total energy consumption, calculate the wattage and usage hours of each device.
Once estimated, your decision on the size of your solar energy system will depend on your barn’s energy consumption. For example, a barn running 5,000 watts daily will need a solar system capable of producing this much electricity. To fairly size your solar array, consider peak sun hours in your location.
2. Installing Solar Panels on Your Barn
Selecting Solar Panels
Choosing solar panels requires consideration of several options. Monocrystalline and polycrystalline solar panels are the two most common types. While monocrystalline panels are more efficient and take up less space, they are usually more expensive. Polycrystalline panels, on the other hand, are less efficient but also less expensive. Your choice will depend on your budget, available space, and energy needs.
Ground-Mounted vs. Roof-Mounted Panels
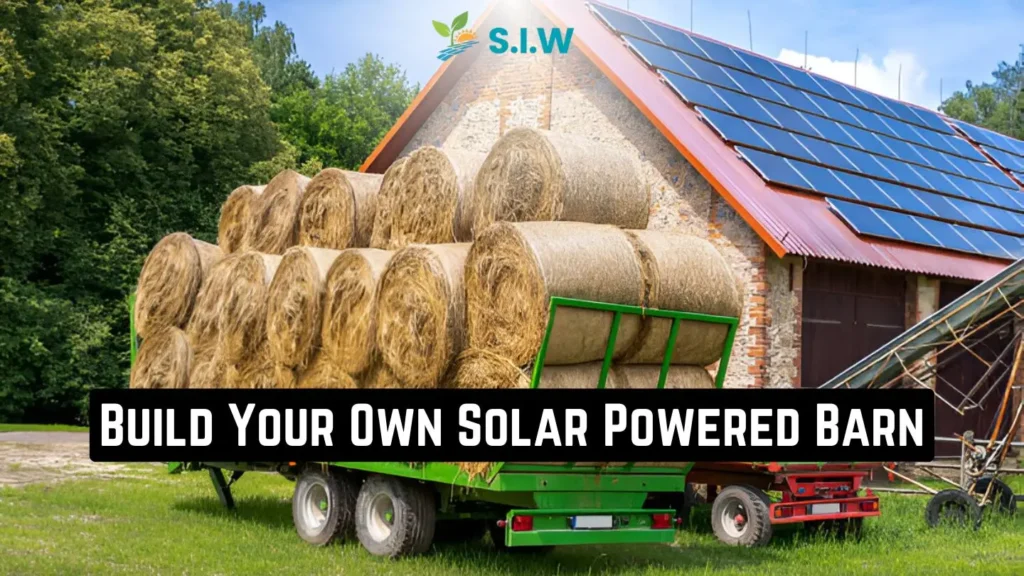
Solar panels can be installed on your barn’s roof or on the ground nearby. Barns with large, sloped roofs often use roof-mounted panels. Roof mounting is a convenient and space-efficient solution if your barn roof is large and oriented to capture sunlight properly.
However, if your barn’s roof is unsuitable for solar panels due to shade, pitch, or size, ground-mounted panels may be a better option. Ground-mounted panels offer flexibility in location and easy maintenance but require more space and additional mounting structures.
Mounting and Installing Rack Systems
You will need a racking and mounting system to secure your selected solar panels in place. In roof-mounted systems, the panels are installed on rails connected to the barn’s roof. In ground-mounted systems, the panels are placed on a strong frame anchored into the ground.
Ensure the racking system is properly oriented and secured to withstand environmental conditions like wind. Leave enough space between the panels and the roof to allow for airflow, which will prevent overheating and increase efficiency.
3. Wiring and Inverters: Converting Solar Energy for Barn Use
Inverter Installation
While solar panels generate DC (direct current) electricity, most buildings and homes use AC (alternating current). You will need a solar inverter to convert DC power into usable AC power. There are two main types of inverters: string inverters and microinverters.
- String inverters are more cost-effective and suitable for barns with consistent sunlight exposure. They convert power from a series of solar panels connected together.
- Microinverters, although more expensive, are attached to individual solar panels, increasing efficiency in shaded or variable lighting conditions.
Battery Storage
Decide whether your solar-powered barn will be grid-tied or completely off-grid. A grid-tied system allows you to feed excess power back into the electrical grid, potentially lowering energy costs through net metering. However, if you aim for complete energy independence, you might want to invest in a battery storage system to store excess energy generated during the day for use at night or during cloudy weather.
Modern lithium-ion solar batteries are ideal for this purpose due to their high efficiency and long lifespan. Adding a battery bank ensures your barn remains powered even when the sun isn’t shining.
4. Solar-Powered Essential Barn Systems
Ventilation and Lighting
A well-designed solar-powered barn can meet all your ventilation and lighting needs. Energy-efficient LED lights are an excellent choice as they consume less power while providing bright illumination. To reduce unnecessary energy usage, consider using motion sensors or timers.
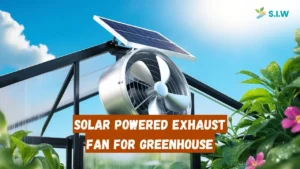
For ventilation, solar-powered fans and ventilation systems are widely available and can be easily integrated into your barn’s power setup. These systems help maintain optimal air quality and temperature for livestock or stored goods.
Water Pumps and Other Equipment
If your barn uses a water pump for irrigation or livestock watering, solar energy can power it. Solar-powered pumps designed specifically for agricultural use offer an efficient solution for water management. Ensure that your solar system is sized to handle the extra power demand of this equipment.
Charging Stations for Tools and Electric Vehicles
As electric vehicles (EVs) and battery-powered tools become more common, having a solar-powered barn offers an excellent opportunity to set up EV charging stations or charging hubs for electric equipment. Solar energy ensures your tools and vehicles are always ready for use, reducing reliance on grid power.
5. Maintaining Your Solar-Powered Barn
Maintaining Solar Panels
Regular maintenance is crucial to keep your solar-powered barn operating at optimal performance. Over time, dust, dirt, and debris can accumulate on the panels, reducing their ability to capture sunlight. Cleaning your panels every few months with water and a soft brush can help maximize performance.
Verifying the System
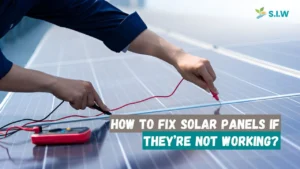
Regularly check your solar system to ensure everything is functioning properly. Inspect the wiring, inverter, and battery bank (if applicable) for any signs of wear or damage. Monitoring your system’s energy production via the inverter’s display or a connected app is also important. A drop in output could indicate a problem with one of the components.

