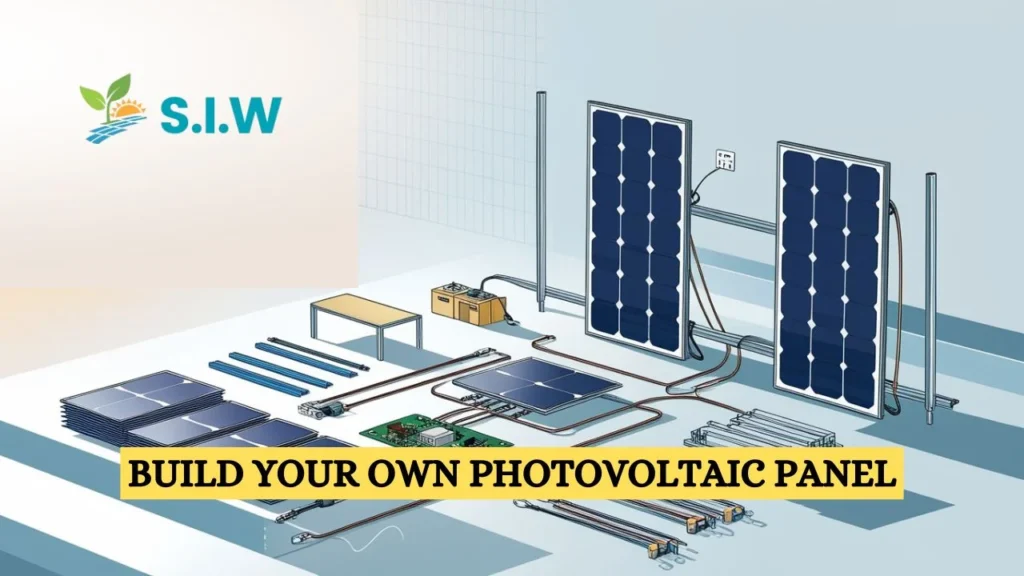
As more people explore for ways to generate clean, renewable energy and lessen their carbon footprint, the demand for solar energy has soared in recent years. Although building your own solar panel may appear difficult at first, anyone with a basic understanding of technology and the appropriate direction can complete the task. You may harness the power of the sun by learning to build your own photovoltaic panel, whether you’re an enthusiastic do-it-yourselfer or a homeowner who cares about the environment.
A Brief Overview of Solar Panels
The method by which solar cells generate electrical current when exposed to sunlight is known as the photovoltaic effect, and it is utilized by photovoltaic (PV) panels to convert sunlight into electricity. Your reliance on the conventional energy grid can be decreased or perhaps completely eliminated by using this clean, renewable energy source to power your home.
Why the Usage of Do-It-Yourself Solar Panels is Growing
Although it may seem difficult to build your own solar panel, more people are doing it as a result of the growing availability of reasonably priced supplies and thorough internet guidance. Building your own solar panels not only saves money but also gives you a sense of independence and a way to personally combat climate change. Additionally, having control over the size and quality of your panels gives you flexibility to meet a range of energy needs.
Advantages of Building Your Own Solar Panel
Starting a do-it-yourself solar project has a number of benefits. To begin with, the savings over purchasing pre-made panels are substantial. As opposed to the tens of thousands of dollars that professionally installed solar systems can cost, you can build your own photovoltaic panels for a far lower cost. It also lets you tailor the system to your unique location and energy requirements. The most significant benefit is that you obtain practical experience and a better comprehension of solar energy systems.
Recognizing Solar Energy
A fundamental understanding of solar energy is necessary to construct a photovoltaic panel. Photons are little energy particles found in sunlight that, upon colliding with a solar cell, liberate electrons and generate an electric current. An inverter transforms this direct current (DC) electricity into alternating current (AC), which your household appliances can use.
Essential Elements of a Photovoltaic Solar System
All solar energy systems, whether constructed professionally or as a do-it-yourself project, have a few essential parts:
The most important elements that genuinely produce electricity from sunshine are solar cells. Polycrystalline or monocrystalline cells are used in the majority of DIY panels. The inverter transforms the DC electricity produced by the solar cells into AC electricity that may be used.
Battery storage: Holds onto extra energy generated during the day so it can be used at night or in overcast conditions.
Charge Controller: Prevents overcharging by controlling the amount of energy that goes from the solar panel to the batteries.
Prior to beginning your job, it is imperative that you comprehend how these parts function together.
Materials and Tools Required to Build a DIY Solar Panel
Having the appropriate equipment and supplies before you begin is essential to the success of your do-it-yourself solar panel installation. The following is a list of necessities:
Solar Cells: These come in kits that are already assembled or can be bought separately.
For connecting the cells, use a soldering iron and solder.
Glass Sheet: To shield the cells and cover the panel.
Plywood: The backing material for panels.
Diodes and wires are required to connect the cells and stop the passage of reverse current.
Silicone sealant: To make the panel watertight.
Safety Measures and Things to Think About
Because building a solar panel entails working with electricity, safety should come first. When soldering, always wear safety goggles, and take caution when handling solar cells as they can be brittle. To prevent potential hazards, make sure you follow proper grounding and wiring techniques when working with electricity. Furthermore, take care when installing the panels to prevent harm to other buildings or your roof.
Constructing Your Own Solar Panel
The exciting part is about to begin: building the panel. Here’s a detailed explanation on how to put up a homemade solar panel:
Getting the Solar Cells Ready
First, open your solar cells gently. Handle them carefully because they are fragile and easily broken. In order to raise the panel’s overall voltage, you must connect the cells in series. The majority of home solar panels have a voltage output of between 18 and 20 volts, so that’s what you should typically strive for.
Building the Backing and Frame
Next, construct a frame with a backing made of plywood. This frame will serve as a strong foundation for the panel and support the solar cells. Make sure the plywood is the appropriate size to accommodate the quantity of solar cells you intend to utilize.
Connecting and joining the solar panels
Join the solar cells in series using your soldering iron. This phase needs close attention to detail because bad wiring can lower your panel’s efficiency. To join the positive and negative sides of one solar cell to the next, solder the tabs on each one. To avoid any energy loss, make sure your connections are tight.
Building the Panel Out of the Cells
After connecting the cells, put them within the frame and cover them with a glass sheet to keep the weather out. Sunlight will be able to enter the glass while moisture and debris are kept out.
Installing and Mounting the Panel
Installing your solar panel in a spot that gets the most sunshine after it is finished is the next step. Usually, this is a stand-alone building in your yard or the roof of your house. To produce energy as much as possible, positioning is essential. Throughout the day, south-facing installations typically receive the most direct sunshine.
Solar Panel Mounting Systems Types
Solar panels can be mounted in a variety of ways. The simplest and least expensive mounts are fixed mounts, however they don’t allow you to change the panel’s angle. With adjustable mounts, you may adjust the panel’s tilt to align with the angle of the sun, increasing efficiency.
Connecting the Panel to the Battery and Inverter Systems
It’s time to connect your panel to the inverter and battery system after it has been mounted. The DC electricity generated by the solar cells must be converted into AC electricity by the inverter in order to power your home appliances. Excess energy is stored in batteries so that you may maintain power even when the sun isn’t shining.
System Testing and Monitoring
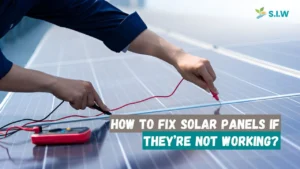
It is crucial to test your system after installation to make sure everything is operating as it should. Check the voltage output of your panel with a multimeter. Make sure it is producing the anticipated amount of energy by keeping an eye on its performance over a few days.

