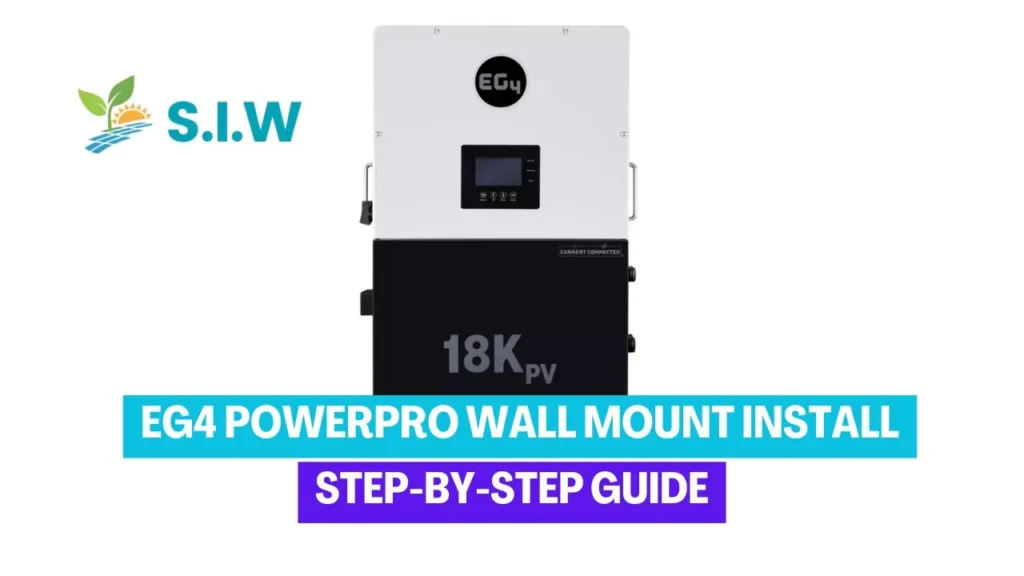
The EG4 PowerPro is a highly efficient and durable power solution, ideal for both residential and commercial setups. To maximize its potential, proper installation is crucial. This comprehensive guide will walk you through the step-by-step process of installing the EG4 PowerPro wall mount.
Why Choose EG4 PowerPro for Your Power Needs?
The EG4 PowerPro is known for its reliability and versatility. Whether you are looking for a backup power solution or a primary energy source, this unit offers high efficiency and durability. Its wall mount feature ensures that it remains safe, secure, and out of the way, allowing for optimal space utilization.
Tools and Materials Needed for Installation
Before you start the installation, gather the following tools and materials:
- EG4 PowerPro unit
- Wall mount bracket (comes with the package)
- Screws and bolts
- Drill and drill bits
- Level
- Measuring tape
- Screwdriver
- Anchors (if mounting on drywall)
- Protective gear (gloves, safety glasses)
Having all the necessary tools at hand will make the installation process smoother and quicker.
Step 1: Choose the Perfect Location
Choosing the right location for the EG4 PowerPro is crucial for both safety and efficiency. Ensure the wall is sturdy enough to support the weight of the unit. Ideally, the EG4 PowerPro should be mounted on a concrete or brick wall. If mounting on drywall, ensure you use strong anchors to hold the weight.
Consider the following factors when selecting a location:
- Proximity to the power source: Make sure the unit is close to the necessary electrical connections.
- Ventilation: The unit needs adequate airflow to prevent overheating. Avoid placing it in tight or enclosed spaces.
- Accessibility: Ensure that the EG4 PowerPro is easily accessible for maintenance or emergency situations.
Step 2: Mark the Mounting Points
Once you’ve chosen the ideal location, use a level to ensure that your EG4 PowerPro will be mounted straight. Hold the wall mount bracket against the wall, and mark the points where you will drill. Double-check the measurements to avoid any mistakes.
Pro Tip: If you’re mounting the unit on drywall, ensure that your markings align with the studs in the wall for added support. Use a stud finder to locate the studs.
Step 3: Drill the Holes
After marking the mounting points, it’s time to drill. Use the appropriate drill bit based on the wall material:
- For concrete or brick, use a masonry drill bit.
- For drywall, use a standard drill bit and make sure to install anchors.
Drill the holes at the marked points, ensuring they are deep enough to accommodate the screws.
Step 4: Attach the Wall Mount Bracket
Once the holes are drilled, position the wall mount bracket over the holes and insert the screws. Use a screwdriver to tighten the screws securely. Ensure the bracket is firmly attached to the wall, with no wobbling or loose ends.
Tip: If you’re using anchors, insert them into the holes before attaching the bracket to ensure maximum stability.
Step 5: Mount the EG4 PowerPro
Now that the bracket is securely in place, it’s time to mount the EG4 PowerPro. Carefully lift the unit and align it with the wall mount bracket. Once aligned, slide the unit onto the bracket until it locks into place.
Ensure that the unit is securely attached to the bracket and that there is no movement.
Step 6: Connect the Electrical Wiring
With the unit securely mounted, the next step is to connect the electrical wiring. Ensure that all connections are made according to the manufacturer’s instructions. It is essential to:
- Turn off the main power supply before making any connections.
- Double-check all connections for safety.
- If you’re unsure about the wiring process, consider hiring a licensed electrician to assist.
Safety Note: Improper electrical connections can lead to serious hazards, including short circuits and fires. Always prioritize safety.
Step 7: Test the Installation
After the electrical connections are made, it’s time to test the EG4 PowerPro. Turn on the power supply and check if the unit is functioning correctly. Look for any warning lights or error messages on the display.
Ensure that:
- The unit powers on without issues.
- There are no unusual noises or vibrations.
- All electrical connections are secure and functioning.
Step 8: Perform Final Checks and Maintenance Tips
Once the installation is complete, perform a final check to ensure everything is in order. Verify that the unit is level, securely attached, and functioning correctly. Additionally, ensure that the area around the EG4 PowerPro is free from clutter, as this can impede ventilation.
Maintenance Tips:
- Regularly inspect the unit for any signs of wear or damage.
- Clean the unit periodically to prevent dust buildup, which can affect performance.
- Ensure that all connections remain secure over time.
Our experts have conducted a study on whether electricity or solar panels provide the best value for your dollars.
Installing the EG4 PowerPro wall mount may seem like a daunting task, but with the right tools and a methodical approach, it can be done efficiently. By following this step-by-step guide, you’ll ensure that your EG4 PowerPro is safely and securely mounted, ready to provide reliable power whenever you need it.