Solar energy systems are a long-term investment, designed to provide clean and renewable energy for years. However, there may be times when homeowners need to temporarily remove and reinstall their solar panels. This process is known as solar detach and reset. It is often necessary during roof repairs, home renovations, or relocations. Understanding the intricacies of solar detach and reset can help ensure that your system remains efficient and continues to serve your energy needs.
Understanding Solar Detach & Reset
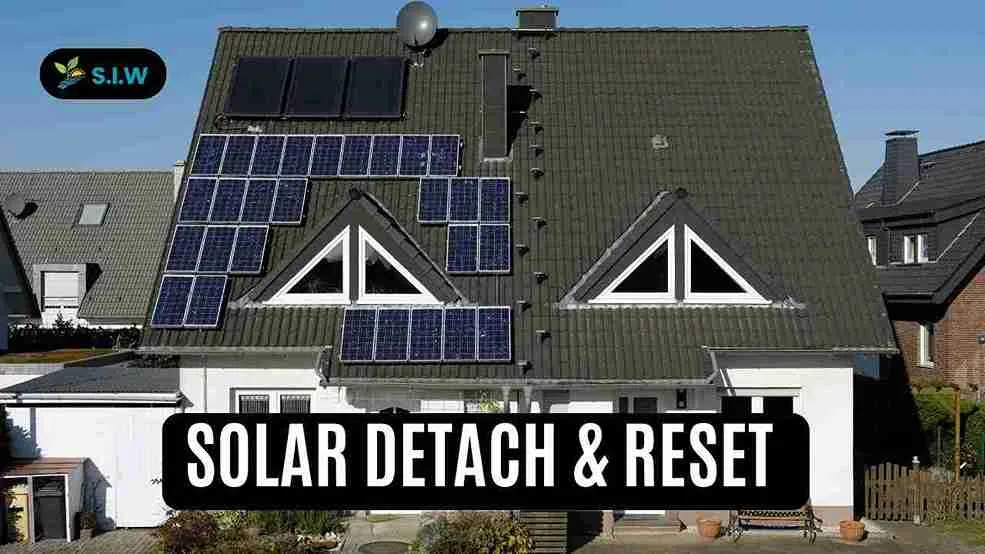
Solar detach and reset refer to the process of removing solar panels from a roof and then reinstalling them after a certain period. This procedure may be necessary for various reasons, including roof maintenance, system upgrades, or moving to a new home. While it might seem like a straightforward process, it requires careful planning and professional expertise to ensure that the solar system is properly reinstalled and continues to function efficiently.
Why is Solar Detach & Reset Necessary?
The need for solar detach and reset usually arises when roof repairs or renovations are required. Solar panels are mounted directly on the roof, and any work on the roofing material underneath will necessitate their removal. Additionally, homeowners who are moving to a new property may want to take their solar system with them. In such cases, the system must be detached from the old location and reset at the new one.
Another common reason for solar detach and reset is system upgrades. As technology evolves, homeowners may choose to upgrade their commercial solar panels or inverters to more efficient models. To do this, the existing system may need to be temporarily removed and then reinstalled.
The Solar Detach Process
Before the detach process begins, it is essential to assess the entire solar system. This assessment includes evaluating the condition of the panels, wiring, and mounting hardware. A professional solar technician will inspect the system to identify any potential issues that may affect the detach and reset process.
During this assessment, the technician will also document the current configuration of the system. This documentation includes the layout of the panels, wiring connections, and inverter settings. This information is crucial for ensuring that the system is reinstalled correctly after the reset.
Shutting Down the System
Once the assessment is complete, the next step is to shut down the solar system. This involves disconnecting the panels from the inverter and the electrical grid. Shutting down the system safely is critical to prevent any electrical hazards during the removal process.
Removing the Panels
After the system is powered down, the panels can be carefully removed from the roof. This step requires specialized tools and equipment to ensure that the panels are not damaged during removal. The mounting hardware, including brackets and rails, will also be removed at this stage.
The panels must be stored in a safe and secure location while the roof work or other renovations are carried out. Proper storage is essential to prevent damage to the panels, as even minor scratches or cracks can reduce their efficiency.
Handling the Inverter and Wiring
In addition to the panels, the inverter and wiring must also be detached during the process. The inverter is the device that converts the direct current (DC) produced by the panels into alternating current (AC) used by household appliances. It is typically located inside the home, but its connections to the panels will need to be disconnected during the detach process.
The wiring that connects the panels to the inverter must also be carefully handled. Any damage to the wiring can result in inefficiencies or malfunctions when the system is reinstalled. Therefore, it is important to ensure that all connections are properly labeled and documented for the reset process.
The Solar Reset Process
Before the solar system can be reinstalled, the roof must be properly prepared. This preparation involves ensuring that the roof is structurally sound and free of any issues that could affect the performance of the solar panels. If any repairs or renovations have been made to the roof, they must be completed and inspected before the reset process begins.
In some cases, the roof’s layout or materials may have changed during the renovation process. If this is the case, the mounting hardware for the solar panels may need to be adjusted or replaced to ensure a secure installation.
Reinstalling the Panels
Once the roof is ready, the solar panels can be reinstalled. This process involves carefully placing the panels back on the mounting hardware and securing them in place. The layout of the panels must match the original configuration to ensure optimal energy production.
During the reset process, it is essential to check that the panels are properly aligned and angled to maximize sunlight exposure. Any deviation from the original setup can reduce the system’s efficiency and energy output.
Reconnecting the Inverter and Wiring
After the panels are securely mounted, the next step is to reconnect the inverter and wiring. This involves restoring the electrical connections between the panels and the inverter, as well as connecting the system to the electrical grid.
The wiring must be carefully inspected to ensure that there are no loose connections or damaged components. Any issues with the wiring can affect the overall performance of the system and may require additional repairs or replacements.
Testing the System
Once the solar system has been reinstalled and all connections have been made, it is time to test the system. This testing involves checking the functionality of the panels, inverter, and wiring to ensure that everything is working as expected.
A professional technician will conduct a series of tests to verify that the system is producing electricity efficiently and that there are no issues with the installation. These tests may include monitoring the system’s energy output, checking for any electrical faults, and ensuring that the inverter is operating correctly.
Hiring a Professional for Solar Detach & Reset
Solar detach and reset is a complex process that requires specialized knowledge and expertise. Attempting to remove and reinstall a solar system without professional help can result in damage to the panels, wiring, and inverter. Additionally, improper installation can lead to inefficiencies, safety hazards, and reduced energy production.
Hiring a professional solar technician ensures that the detach and reset process is carried out safely and correctly. These professionals have the tools and experience needed to handle the various components of the system and ensure that everything is reinstalled to the highest standards.
What to Look for in a Professional
When hiring a professional for solar detach and reset, it is important to choose a company or technician with experience in solar installations. Look for professionals who are licensed and certified to work with solar systems. Additionally, it is helpful to choose a technician who has experience with your specific type of solar panels and inverter.
Before hiring a professional, ask for references and reviews from previous clients. This will give you an idea of the quality of their work and their level of customer service. It is also a good idea to get a detailed estimate of the cost and timeline for the detach and reset process.
Cost Considerations
The cost of solar detach and reset can vary depending on the size and complexity of the system, as well as the extent of the roof work or renovations. In general, the cost will include labor for the removal and reinstallation of the panels, as well as any necessary repairs or replacements.
It is important to factor in the cost of hiring a professional when planning for roof repairs or renovations. While it may be tempting to cut costs by attempting the detach and reset process yourself, the potential risks and damages can end up costing more in the long run.
Tips for a Smooth Solar Detach & Reset Process
One of the most important steps in ensuring a smooth solar detach and reset process is to plan ahead. If you know that roof work or renovations are coming up, schedule a consultation with one of the best solar companies in Texas as early as possible. This will give you time to assess the system, make any necessary repairs, and coordinate with other contractors.
Communicate with Contractors
If you are working with multiple contractors, such as roofers or electricians, make sure that everyone is on the same page regarding the solar system. Clear communication between contractors can help avoid delays and ensure that the detach and reset process goes smoothly.
Document Everything
Throughout the detach and reset process, it is essential to document everything. This includes taking photos of the original installation, labeling wiring connections, and keeping records of any changes made during the reset process. This documentation will be invaluable if you need to make any future adjustments or repairs to the system.
Conclusion
Solar detach and reset is an essential process for maintaining and upgrading your solar energy system. Whether you need to remove your panels for roof repairs, renovations, or a move, it is important to approach the process with careful planning and professional expertise. By understanding the steps involved in solar detach and reset, you can ensure that your system remains efficient and continues to provide clean energy for years to come.


