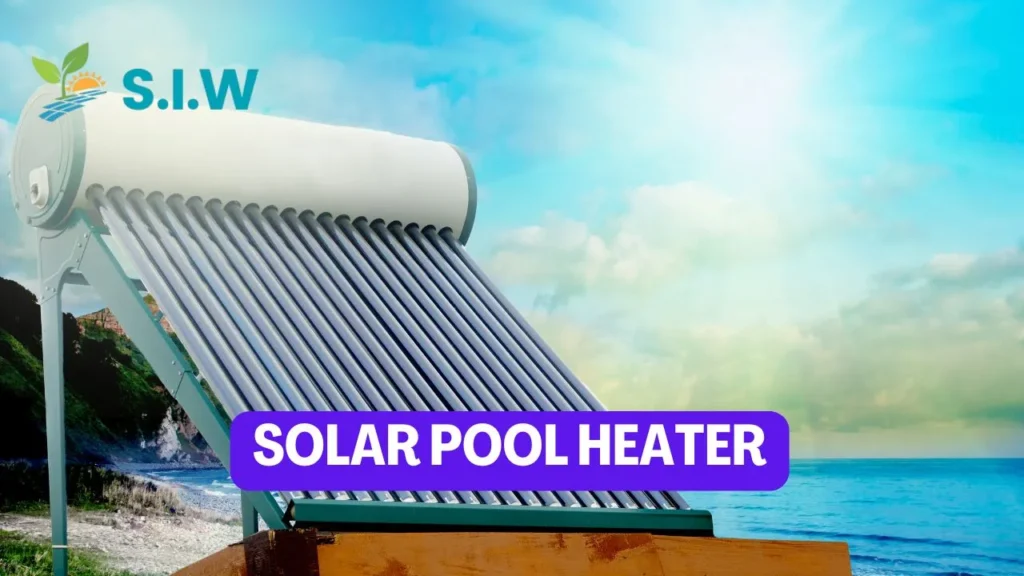
A solar pool heater is a cost-effective and environmentally friendly way to extend your swimming season. By harnessing the power of the sun, you can achieve a comfortably warm pool without the high costs associated with traditional heating methods. Building your own solar pool heater is a rewarding DIY project that can save you money while providing a practical solution to keep your pool at a desirable temperature. In this guide, we’ll walk you through the process of creating your own solar pool heater, covering everything from the basic principles to the step-by-step construction process.
Understanding Solar Pool Heating
How Solar Pool Heating Works
Solar pool heaters operate on a straightforward principle: they capture sunlight and convert it into heat, which is then transferred to the pool water. The system typically consists of three main components: solar collectors, a pump, and a filter.
Solar collectors are the heart of the system. These devices are designed to absorb solar energy and transfer it to the pool water. They are usually made of a series of tubes or panels that are exposed to sunlight. The absorbed heat is then transferred to the water as it circulates through the collectors.
The pump circulates the pool water through the solar collectors. It draws water from the pool, passes it through the collectors where it is heated, and then returns it to the pool. The filter helps to remove debris and impurities from the water before it enters the collectors.
Benefits of a DIY Solar Pool Heater
Building your own solar pool heater offers several benefits. Firstly, it is a cost-effective solution compared to purchasing a pre-made system. Additionally, constructing the heater yourself allows for customization to suit your specific needs and pool size. Moreover, a DIY solar pool heater reduces your reliance on non-renewable energy sources, making it an eco-friendly choice.
Materials and Tools
Essential Materials
To build a DIY solar pool heater, you will need a range of materials. The primary components include:
- Solar Collectors: You can use materials like black plastic tubing, PVC pipes, or specialized solar collector panels.
- Pump: A water pump suitable for pool use to circulate the water through the system.
- Filter: A pool filter to keep the water clean and prevent debris from clogging the system.
- Hoses and Fittings: To connect various parts of the system.
- Mounting Materials: To secure the solar collectors to a roof or a dedicated frame.
Tools Required
The tools you’ll need for the project include:
- Drill: For making holes and securing fittings.
- Screwdrivers: To assemble various components.
- Pipe Cutters: For cutting PVC pipes or tubing.
- Wrenches: To tighten fittings and connections.
- Measuring Tape: To ensure accurate dimensions.
Designing Your Solar Pool Heater
Calculating the Size of the System
What Pool Heater Size Do I Need? The size of your solar pool heater depends on the size of your pool and the amount of heat you want to generate. A general rule of thumb is to have a solar collector area equal to 50-100% of the pool’s surface area. For example, if you have a pool with a surface area of 400 square feet, your solar collector area should be between 200 and 400 square feet
Choosing the Location for Solar Collectors
The efficiency of your solar pool heater largely depends on the placement of the solar collectors. Ideally, they should be installed in a location that receives maximum sunlight exposure throughout the day. Common options include rooftops or dedicated frames positioned in a sunny area of your yard.
Designing the Collector Layout
The layout of the solar collectors can vary based on the materials you use. For black plastic tubing, you might arrange it in a serpentine pattern on a flat surface. For PVC pipes, you might create a panel-like structure with pipes arranged in a grid. Ensure that the design allows for efficient water flow and maximum exposure to sunlight.
Building the Solar Pool Heater
Assembling the Solar Collectors
Start by assembling your solar collectors according to your chosen design. If you’re using black plastic tubing, lay it out in the designed pattern and secure it in place. For PVC pipes, cut them to the desired length and connect them using fittings to create the panel structure.
Installing the Solar Collectors
Once the collectors are assembled, it’s time to install them. If you’re mounting them on a roof, use appropriate mounting brackets to secure them in place. Ensure that they are angled to maximize solar exposure. If you’re using a ground-mounted frame, assemble the frame and secure the collectors on top.
Connecting the System
With the collectors installed, you need to connect them to your pool’s circulation system. Attach hoses or pipes from the pool’s pump to the solar collectors. Ensure that the connections are secure and that there are no leaks. Connect another set of hoses or pipes from the collectors back to the pool.
Installing the Filter
Install the filter in line with the water flow, ideally between the pool and the solar collectors. This will help keep debris out of the system and ensure smooth operation.
Testing and Maintenance
Testing the System
After installation, it’s crucial to test your solar pool heater to ensure it is functioning correctly. Turn on the pump and check for any leaks or issues with the water flow. Monitor the water temperature to verify that the system is heating the water effectively.
Routine Maintenance
Maintaining your solar pool heater is relatively simple. Regularly check for and clean any debris from the solar collectors and filter. Inspect the system for leaks or damage, and make necessary repairs promptly. Ensure that the collectors remain free of obstructions that could block sunlight.
Troubleshooting Common Issues
Inadequate Heating
If you find that your solar pool heater is not heating the water sufficiently, check for potential issues such as insufficient solar exposure, leaks in the system, or blockages in the collectors. Ensure that the system is properly sized for your pool and that the pump is functioning correctly.
Leaks
Leaks can occur in any part of the system. Check all connections, hoses, and fittings for signs of leaks. Tighten any loose connections and replace damaged components as needed.
Reduced Water Flow
Reduced water flow can be caused by clogs in the filter or the collectors. Clean the filter regularly and inspect the collectors for any blockages or debris that may be restricting water flow.
Conclusion
Building your own solar pool heater is a fulfilling project that can provide significant benefits in terms of cost savings and environmental impact. By understanding the basic principles of solar heating, carefully planning your design, and following a systematic approach to construction, you can create an effective and efficient system to keep your pool comfortably warm. Regular maintenance and troubleshooting will ensure that your solar pool heater continues to perform optimally, allowing you to enjoy your pool throughout the swimming season.


