Harnessing solar power for your boat is a smart way to enhance energy efficiency, extend your time on the water, and reduce reliance on traditional fuel sources. Installing solar panels on your boat can seem daunting, but by following a clear and systematic process, you can achieve a successful installation. Here are the 10 essential steps to installing solar boat panels.
1. Assess Your Energy Needs
Before purchasing solar panels, it’s important to determine your boat’s energy requirements. Begin by listing all the electrical devices you use, such as lights, navigation systems, refrigerators, and pumps. Calculate the total watt-hours per day you consume, as this will help you choose the appropriate size and number of solar panels. To ensure you select the best solar panels for your needs, consider consulting with the best solar companies in Florida. These experts can provide valuable insights and recommendations tailored to marine applications, helping you find the right solar solutions to efficiently power your boat and enhance your on-water experience.
Key Considerations:
- Daily energy usage: How much energy do you need each day?
- Battery capacity: How much power do your batteries currently store?
2. Choose the Right Solar Panels
Select solar panels that suit your boat’s energy needs and available space. There are different types of solar panels, including monocrystalline, polycrystalline, and thin-film, each with its own advantages. Monocrystalline panels are more efficient but can be more expensive, while polycrystalline panels offer a good balance between cost and efficiency. Thin-film panels are flexible and lightweight, making them ideal for curved surfaces.
Key Considerations:
- Efficiency: Higher efficiency means more power in less space.
- Durability: Marine environments require robust and corrosion-resistant panels.
- Space availability: Ensure the panels fit the space available on your boat.
3. Select the Installation Location
Identify the best location on your boat to install the solar panels. The panels should be placed where they will receive maximum sunlight throughout the day, avoiding shaded areas caused by masts, antennas, or other obstructions. Common installation areas include the cabin roof, bimini top, or even custom-built mounts.
Key Considerations:
- Sunlight exposure: Maximize sunlight absorption by choosing an area with minimal shading.
- Accessibility: Ensure the panels are easily accessible for cleaning and maintenance.
4. Determine the Mounting Method
Decide how you will mount the solar panels to your boat. There are various mounting options, including fixed, tiltable, or flexible mounts. Fixed mounts are sturdy and require less maintenance, but tiltable mounts allow you to angle the panels toward the sun for better efficiency. Flexible mounts are ideal for curved surfaces and can be glued or screwed into place.
Key Considerations:
- Mounting surface: Consider the material and shape of the mounting surface.
- Flexibility: Will you need to adjust the panels’ angle frequently?
5. Purchase a Solar Charge Controller
A solar charge controller is essential for regulating the voltage and current flowing from the solar panels to your batteries, preventing overcharging. Choose a charge controller that matches the voltage of your battery bank (12V, 24V, etc.) and the maximum current output of your solar panels. MPPT (Maximum Power Point Tracking) controllers are more efficient than PWM (Pulse Width Modulation) controllers and are recommended for larger systems.
For those seeking to implement solar solutions on a larger scale or for commercial purposes, consulting the best commercial solar companies can provide expert guidance. These companies can help you select the most suitable charge controllers and other components to optimize the performance and reliability of your solar power system.
Key Considerations:
- Type: MPPT controllers offer better efficiency, especially in variable sunlight conditions.
- Capacity: Ensure the controller can handle the power output of your solar panels.
6. Install the Solar Panels
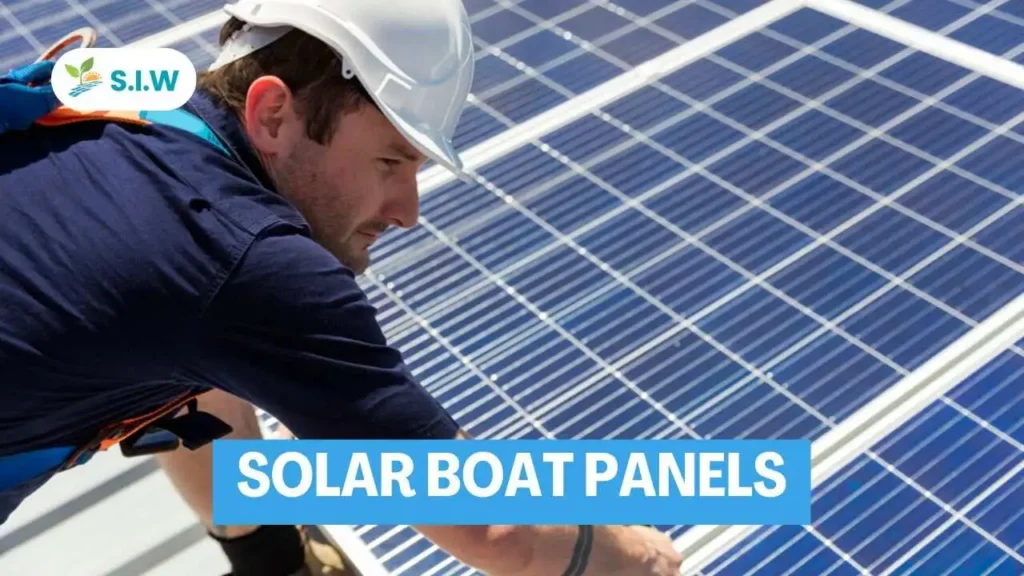
Begin by securing the solar panels in the chosen location using your selected mounting method. If drilling holes, be sure to seal them properly to prevent water ingress. If using adhesive mounts, follow the manufacturer’s instructions to ensure a secure and durable bond.
Key Considerations:
- Alignment: Ensure the panels are properly aligned for maximum sun exposure.
- Sealing: Prevent leaks by using marine-grade sealants around any drilled holes.
7. Connect the Panels to the Charge Controller
Once the panels are securely mounted, connect them to the solar charge controller. Use marine-grade wiring that is resistant to UV rays and corrosion. Follow the wiring diagram provided with your charge controller, ensuring the connections are secure and correctly polarized.
Key Considerations:
- Wire gauge: Use the appropriate wire gauge to handle the current without excessive voltage drop.
- Protection: Install fuses or circuit breakers to protect the system from overloads.
8. Connect the Charge Controller to the Batteries
After wiring the solar panels to the charge controller, connect the controller to your battery bank. Ensure the connections are tight and secure to avoid any loose connections that could lead to energy loss or safety hazards. Double-check that the charge controller settings match the specifications of your batteries.
Key Considerations:
- Battery type: Verify the charge controller settings are correct for your battery type (AGM, Gel, Lithium, etc.).
- Safety: Use proper terminals and connectors to prevent accidental shorts.
9. Test the System
Before finalizing the installation, test the system to ensure everything is working correctly. Check the charge controller display to verify that the solar panels are producing power and charging the batteries. Monitor the system’s performance over a few days to ensure consistent operation.
Key Considerations:
- Monitoring: Regularly check the charge controller for any error messages or performance issues.
- Troubleshooting: Be prepared to diagnose and fix any potential problems that arise during testing.
10. Maintain Your Solar Panels
After installation, it’s important to maintain your solar panels to ensure long-term performance. Clean the panels regularly to remove salt, dirt, and bird droppings that can reduce efficiency. Periodically inspect the wiring and connections for signs of wear or corrosion, and ensure the panels remain securely mounted.
Key Considerations:
- Cleaning: Use a soft brush or cloth with freshwater to clean the panels.
- Inspection: Check for loose connections, corrosion, or damage after each boating season.
Conclusion
Installing solar panels on your boat is a great way to harness renewable energy and extend your time on the water. By following these 10 steps, you can ensure a successful installation that will provide reliable power for years to come. Whether you’re cruising long distances or just enjoying a day on the water, solar power can significantly enhance your boating experience.

